Let’s get something sorted straight away: you don’t need a professional detailer or a bucketload of posh products to make your caravan white again.
Most people think you need to spend half your holiday scrubbing or spend a fortune on products when, often, you just need the right approach—and a bit of camper know-how.
I’ve been caught out before, turning up to a muddy site in the Peaks, only to realise my van looked more like a yellowed relic than a shining home-on-wheels. Here’s what I wish I knew sooner, so you don’t have to learn the hard way.
1. Spot Causes of Yellowing in Caravans
Caravans don’t go yellow overnight. It sneaks up after years at the mercy of British weather—think endless sun, mucky rain, or road grime after that run down to Cornwall. UV from sunlight attacks the paint and plastics. Dirty rain leaves streaks you only notice at a motorway picnic stop. And road grime works its way in, especially on trips over to the Lakes or the coast.
If you forget to rinse after stormy weather or park by the sea (hello, salty breeze!), you’ll see patches go yellow or brown faster. Plastic trims, vents, and handles suffer worst. But even panels fade or chalk over time, especially if your van’s been sitting under a tree for months gathering moss, as mine once did near Bala. Turns out, neglect rewards you with extra scrubbing work.
2. Pick the Right Cleaner for Your Caravan
Don’t just grab any old household cleaner. A bottle of washing up liquid sounds harmless, but it can strip wax and leave the surface even more exposed next time the sun comes out.
Top clean-up options:
- Sugar soap: A classic for cutting through grease, grime, pollen, and years of “camp dust”.
- Dedicated caravan shampoos: These are gentle but powerful, stopping any streaks or membrane damage. Bonus: some have UV protectors built in.
- Mild degreasers: Great for oily marks left behind after your mate worked on the tow hitch and got engine grease everywhere.
In my experience, sugar soap is a hero. I once used it after a festival, and it shifted two years of greenish grime in half an hour.
How to use for best effect? Fill a bucket with warm water, add your chosen cleaner as per directions, then use a soft brush or microfibre mitt. Get into every nook—especially seams and the roof, where muck hides.
3. Sort Out Yellowed Plastic Bits
Here’s a classic rookie mistake: ignoring the plastic parts. Plastic trims, vents, light surrounds, or handles seem to yellow faster than everything else—usually from sun, flies, and years of road dirt.
So, how to whiten yellowed plastic? A special plastic restorer works nicely. If you want to save a few quid, look for products made for car bumpers or plastic garden furniture.
Apply with a cloth, then lightly buff. Some folks swear by a mild abrasive cleaner, like The Pink Stuff, but test in a hidden spot first. If in doubt, start gentle—you can always go again.
I once attacked my fridge vent covers with a cheap bleach spray and a scrubbing pad. They turned patchy and brittle, cracking on the M6 a week later. Don’t do what I did—always use products labelled for plastics, and never soak or use bleach.
4. Sand Away Stubborn Marks
If cleaning doesn’t crack it, you’ll need a bit of elbow grease. Sanding sounds drastic, but for stubborn stains and rough chalky patches, it works wonders.
Grab medium-grade sandpaper (around 800–1200 grit), wrap it round a soft sanding block, and gently sand in small circles. Focus on dull patches or spots where grime has really taken hold. Don’t press too hard—gentle is better than gouging.
Afterwards, go over the surface with very fine sandpaper (1000–2000 grit) to smooth things out. Wipe away dust with a damp cloth, and you’re ready to polish or paint.
Top tip: avoid sanding textured plastics or rubber seals—they’ll never look right again and could leak after a wet weekend in Wales.
5. Bring Back Shine with Polish
If your paint looks flat but isn’t peeling, the best polish for motorhomes or caravans often includes a “cutting” polish followed by a wax. These tackle fine scratches and help bring back gloss.
Look for a caravan-specific polish or something designed for fibreglass. I use Autoglym Caravan & Motorhome Cleaner, followed by their polish—it cuts through grime and leaves a nice protective layer. Apply with a soft cloth or orbital buffer, working in sections as you go. After buffing, stand back and wait for “the sparkle” that makes all the work worth it.
If you haven’t got specific caravan polish, decent car polish will do. Avoid anything too abrasive or designed for metal panels—that’s a sure-fire way to create a patchy finish.
6. Refresh Dull Paint Without Painting
Sometimes, the paint just looks tired. No cracks or bubbling, just a chalky film that screams “neglect”. Here’s where an oxidation remover shines.
Wipe the area with a microfibre cloth and use a product that targets oxidised paint—Meguiar’s Oxidation Remover is a solid pick. Work it in gently, then polish as described above.
These products strip away the dead top layer, revealing cleaner, brighter paint. It won’t replace a full repaint on a proper banger, but it can add years to your van’s life.
7. Paint for Full Restoration
If you leave it too long, a repaint will be your only hope. Full-on yellowed, peeling or battered paint can only be rescued with a new finish.
Steps for painting:
- Prep hard: Remove bolts, handles, window trims—anything removable. Mask what you can’t take off.
- Clean and sand: See earlier steps—skip this, and the paint will flake off before you hit Bristol.
- Choose the right paint: Enamel paints like Rust-Oleum Gloss White are tough, weatherproof, and handle a bit of campsite abuse.
- Apply lightly: Don’t slap it on. Use several thin coats, letting each dry. Four coats is minimum for proper cover.
Don’t paint over flaky bits. Get a good surface, or you’ll be doing this again next year.
From experience: if you rush or paint in the wrong weather (wet day, cold, or breezy), the finish won’t last. I painted in a rush pre-Devon trip—woke up to powdery handprints and a dull finish. Always wait for a dry, still day.
8. Keep Your Caravan White for Longer
All that effort means nothing if you ignore maintenance. Here’s how to keep your pride and joy white after the spruce-up:
- Regular washing: Once a month or after every trip, use a mild caravan shampoo and soft brush.
- Dry carefully: Prevent spotting and mildew—that’s how green streaks start.
- Waxing: Twice a year, slap on a proper wax. It seals the finish and makes next wash much easier.
- Cover up: If you’re storing over winter, invest in a proper breathable cover. It keeps off UV, bird droppings, and tree sap.
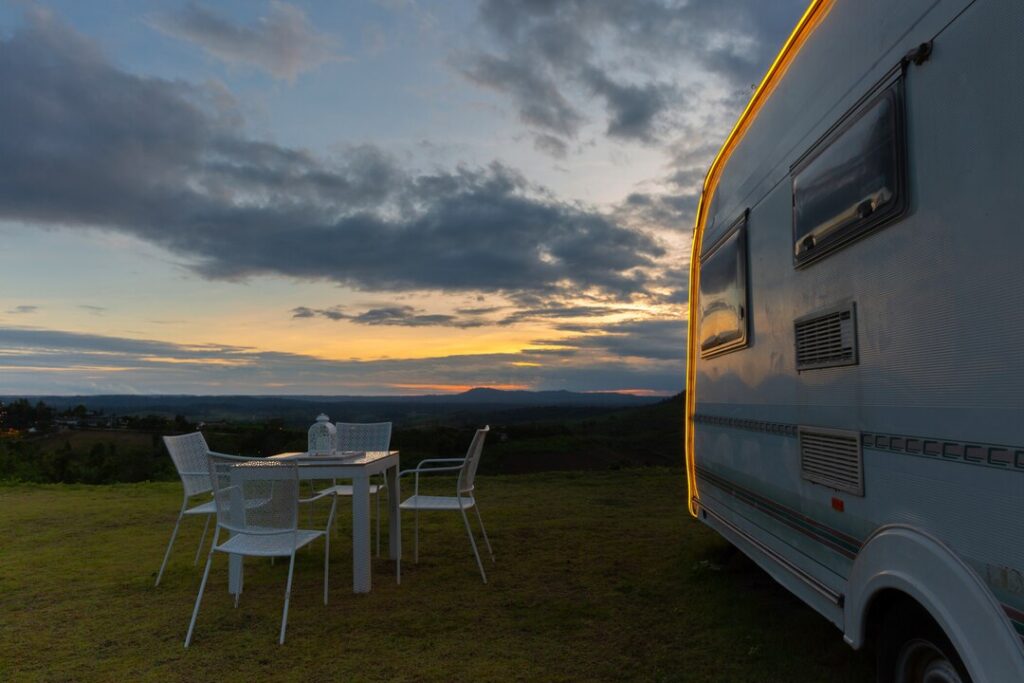
If you park under trees, check every fortnight for sticky spots or fallen branches. I once left mine for two months under a sycamore and came back to a green roof that took hours to scrub.
9. Quick Comparison Table
Here’s a quick, BS-free breakdown of your options. Pick what suits the state of your own van.
| Method | Description | When to Use |
|---|---|---|
| Easy Clean | Sugar soap or special shampoo & rinse | General grime or light yellowing |
| Polish | Cutting polish and wax for shine | Faded or dull but intact paint |
| Sanding | Light to medium sandpaper for rough/chalky bits | Persistent stains, prep for painting |
| Full Repaint | Multiple coats of high-gloss enamel paint | Heavy yellowing, peeling or old paint |
10. Final Tips
No two caravans yellow the same way. Some just need a gentle wash after a muddy festival. Others might be begging for a full day with a sander and a fresh coat of paint.
My advice? Start simple. Don’t reach for the sander if you’ve not even scrubbed off last season’s bugs. The best caravan cleaner and a bit of effort handles most dirty jobs. Get into the habit of regular cleaning, proper waxing, and storing under cover.
Only break out the big guns—sanding or paint—if things are really too tired for polish. There’s no shame in a “tired but happy” van, but if you want yours shining for next year’s adventures, it pays to look after it now.
If you’re interested in more real-world advice on choosing the best caravan cleaner or want tips for deep cleaning after a tough trip, take a look around. I’ve learned these tips the hard way—don’t be the one turning up to site with a yellow streak down your front panel wishing you did the work sooner!
Stay sharp, camp happy, and keep your caravan as bright as your camping memories.

